

Why International Payment Platforms are Essential for Freelancers
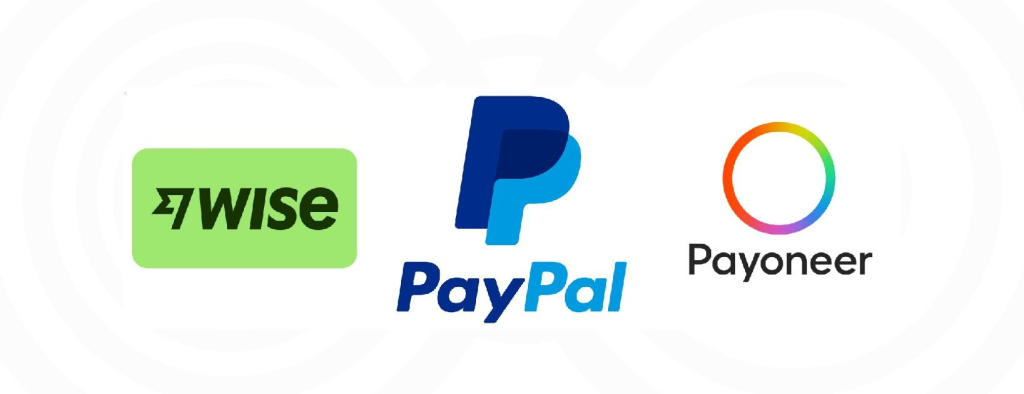
Freelancers working with clients worldwide need reliable and low-cost payment options. Traditional bank transfers can be slow and expensive. Payoneer and Wise offer fast, secure, and cost-effective methods to receive payments from global clients.
Step 1: Choose the Right Platform
Both Payoneer and Wise are widely used by freelancers. Your choice depends on:
- Payoneer: Offers global receiving accounts and is widely accepted by platforms like Upwork, Fiverr, and 99designs.

- Wise: Offers borderless multi-currency accounts with transparent fees and competitive exchange rates.
Step 2: Create and Verify Your Account
Payoneer Account Setup
- Visit Payoneer.com and click “Sign Up”.
- Select your account type (freelancer) and enter personal details.
- Provide identification documents (passport or national ID).
- Link your Payoneer account to your freelance platform for direct payments.
- Wait for account verification, usually 1–3 business days.
Wise Account Setup
- Go to Wise.com and sign up for a personal or business account.
- Provide identification documents and proof of address.
- Create a multi-currency account to receive payments in USD, EUR, GBP, or other currencies.
- Get your account details (like IBAN, sort code) to share with clients or platforms.
Step 3: Link Your Freelance Platforms
Most freelance platforms allow you to receive payments directly into Payoneer or Wise:
- Upwork: Link Payoneer or Wise to your Upwork withdrawal settings.
- Fiverr: Add Payoneer or Wise as a withdrawal option in your Fiverr account.
- Ensure account names match your freelancer profile to avoid verification delays.
Step 4: Understand Fees and Conversion Rates
Payoneer and Wise have different fee structures:
- Payoneer: Charges a 1% currency conversion fee and withdrawal fees vary by bank.
- Wise: Transparent fees with real mid-market rates; minimal cost for transfers to local banks.
Compare both platforms depending on the currency and destination to maximize your earnings.
Step 5: Receive Payments
Once linked, payments from clients or platforms will reach your account automatically. Key tips:
- Check your account regularly for received payments.
- Keep your account details confidential to prevent fraud.
- Notify clients promptly when funds are received.
Step 6: Withdraw Funds to Local Bank Account
Payoneer and Wise allow you to withdraw to Kenyan banks:
- Payoneer: Withdraw to your bank in KES using the “Withdraw” option.
- Wise: Transfer funds from multi-currency account to your Kenyan bank account with low fees.
Ensure your bank details are correctly linked to avoid delays.
Step 7: Keep Records for Taxes
Maintain proper records of your freelance income and withdrawals for tax purposes in Kenya. Both platforms provide downloadable statements for accurate record-keeping.
Step 8: Tips for Safe International Transactions
- Verify client details before accepting payments.
- Enable two-factor authentication on your Payoneer or Wise account.
- Regularly monitor transactions to detect unauthorized activity.
Frequently Asked Questions
Can Kenyans use Payoneer and Wise?
Yes. Both platforms are fully available in Kenya and support KES withdrawals.
Which platform is cheaper for freelancers?
Wise usually offers lower conversion fees and transparent rates, but Payoneer is widely accepted by many freelance platforms.
How long does it take to receive payments?
Payments are often instant from platforms like Upwork and Fiverr to Payoneer, but Wise may take 1–2 business days for bank withdrawals depending on your bank.
Do I need a bank account to withdraw funds?
Yes. Both Payoneer and Wise require a local bank account to withdraw your funds in Kenyan Shillings.
Are there limits on receiving money?
Yes, both platforms may have initial receiving limits, which can be increased after account verification.
Can I use both Payoneer and Wise together?
Absolutely. Many freelancers use Payoneer for platform payments and Wise for direct client transfers due to favorable rates.


